Kohler K-8013-SN Installation Guide
Browse online or download Installation Guide for Cookers Kohler K-8013-SN. KOHLER K-8013-SN Installation Guide User Manual
- Page / 20
- Table of contents
- BOOKMARKS
- 1080947-2-C 1
- 1080947-2-C 2 Kohler Co 2
- Tools/Outils/Herramientas 3
- 1. Install the Supply Piping 4
- Kohler Co. 5 1080947-2-C 5
- 2. Install the Plaster Guard 6
- 3. Set the Pipe Depth 7
- 4. Install the Finished Wall 8
- 5. Install the Pipe Nipple 8
- Installer le mamelon du tuyau 9
- Instale el niple 9
- 6. Install the Adapter 10
- 7. Install the Waterway 11
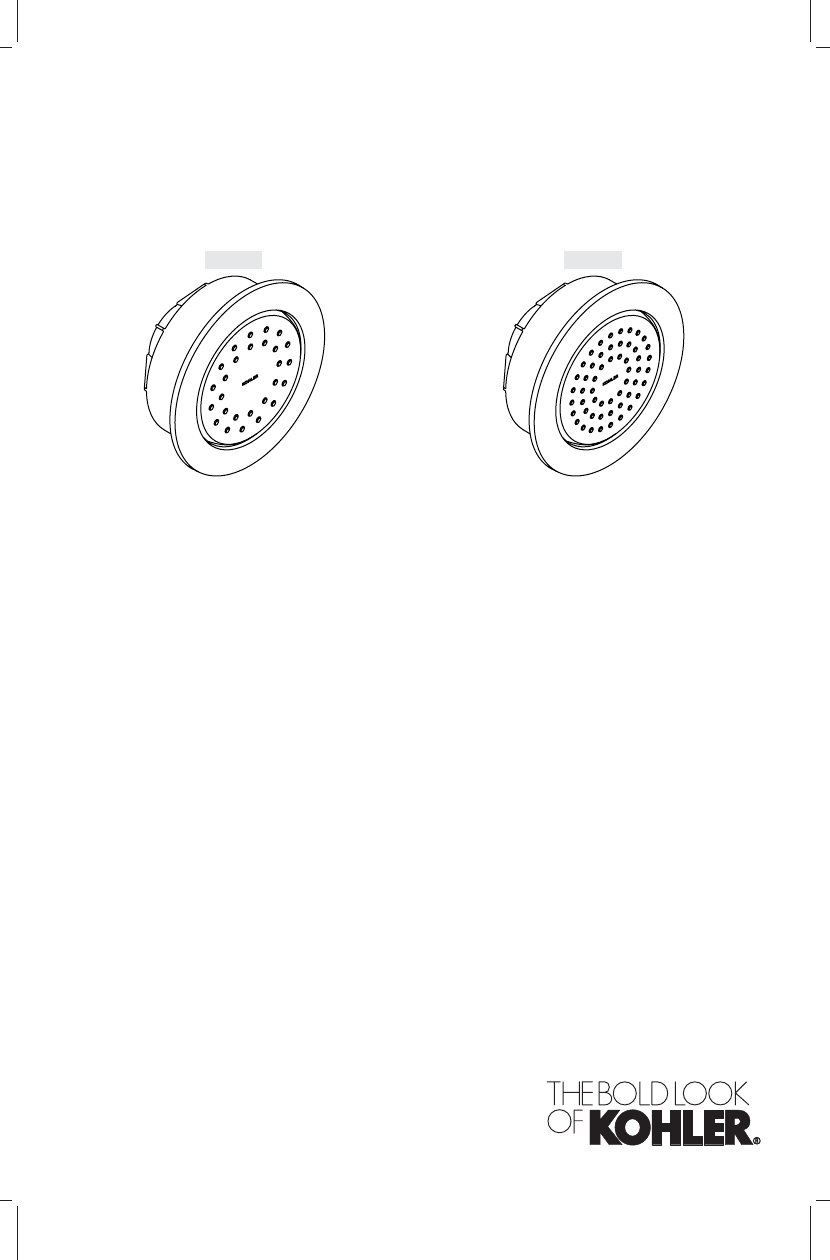
- 8. Install the Trim 12
- Installer la garniture 13
- Instale la guarnición 13
- Remedy Reduced Water Flow 13
- 1080947-2-C 14 Kohler Co 14
- Lifetime Limited Warranty 15
- Garantie limitée à vie 16
- Garantía limitada de por vida 17
- 1080947-2-C 18 Kohler Co 18
- Kohler Co. 1080947-2-C 19
Summary of Contents
Installation and Care GuideGuide d’installation et d’entretienGuía de instalación y cuidadoBodyspraysJets corporelsRociadores corporalesM product numb
Instale el niple (cont.)Vuelva a instalar el niple a la T/codo.Deje correr el agua a través del sistema para eliminar las partículas y residuos.6. Ins
7. Install the WaterwayOrient the leak shield with the drain port down and the arrow pointing ″UP.″Insert the leak shield into the rough opening.IMPOR
Installer le passage d’eau (cont.)Vérifier que l’anti fuites soit positionné avec le port du drain vers le bas et laflèche vers ″HAUT″. L’anti-fuites de
Installer la garnitureLocaliser le port du drain sur l’applique.Positionner l’applique sur l’anti-fuites avec la marque centrée dans l’ouverture dupor
Remedy Reduced Water Flow (cont.)While the water is running, firmly rub your finger across the spray nozzles todislodge any debris or mineral build-up.
Solución al flujo reducido de agua (cont.)Con el agua abierta, frote vigorosamente con el dedo las boquillas del rociadorpara desalojar los sedimentos
Lifetime Limited Warranty (cont.)other rights that vary from state/province to state/province. This warranty is to theoriginal consumer purchaser only
Garantie limitée à vie (cont.)*Les robinets Trend®, la Tour MasterShowerTM, les finitions en or poli, tous les articlescontenus dans la section ″Relati
Service Parts/Pièces de rechange/Piezas de repuesto**Finish/color code must be specified when ordering.**Vous devez spécifier les codes de la finition
Kohler Co. 1080947-2-C
Thank You For Choosing Kohler CompanyThank you for choosing Kohler Company. Your Kohler Company product reflects thetrue passion for design, craftsmans
1080947-2-C
Tools/Outils/HerramientasBefore You BeginCAUTION: Risk of property damage. Spraying pressurized waterdirectly at thesprayface may cause waterto leak b
1. Install the Supply PipingMultiple Bodyspray InstallationsRoute the water supply lines.If installing more than one bodyspray off the same supply lin
Installer la tuyauterie d’alimentation (cont.)Installer un coude à l’extrémité du tuyau d’alimentation à l’emplacementd’installation du jet corporel.T
2. Install the Plaster GuardInstall the plaster guard. Push until the plaster guard is snug against the face ofthe elbow (or tee).Installer le renfort
3. Set the Pipe DepthThin Wall InstallationsNOTE: Thin wall installations have a finished wall thickness of less than 3/8″ (1 cm).To adjust the pipe de
4. Install the Finished WallInstall the water-resistant wall board.Cut out a 4-1/8″ (10.5 cm) round hole, centered on the pipe nipple at each desiredi
Install the Pipe Nipple (cont.)If your measurement is between 2-3/4″ (7 cm) and 3-1/4″ (8.3 cm): Use a 1-1/2″pipe nipple.Thread the nipple into the te
Related products and manuals for Cookers Kohler K-8013-SN


 (16 pages)
© 2020, manymanuals.com. All rights reserved. | 0.697 s |
 Manymanuals.com
 Manymanuals.de
 Manymanuals.fr
 Manymanuals.it
 Manymanuals.pl
 Manymanuals.cz
 Manymanuals.es
 Manymanuals-pt.com
Comments to this Manuals