Kohler K-12172-PB Installation Guide
Browse online or download Installation Guide for Sanitary ware Kohler K-12172-PB. KOHLER K-12172-PB Installation Guide User Manual
- Page / 24
- Table of contents
- BOOKMARKS
- Installation Guide 1
- Before You Begin 2
- Tools and Materials 2
- 1. Faucet Installation 3
- 2. Handspray Installation 4
- 3. Supply Installation 5
- 4. Checkout Installation 5
- Guide d’installation 7
- Avant de commencer (cont.) 8
- 1. Installation du robinet 9
- 2. Installer le vaporisateur 10
- 3. Installer l’alimentation 11
- Guía de instalación 14
- Antes de comenzar (cont.) 15
- 1. Instalación de la grifería 16
- 2. Instalación del rociador 17
- 3. Instale los suministros 18
- 1004617-2-E 21
Summary of Contents
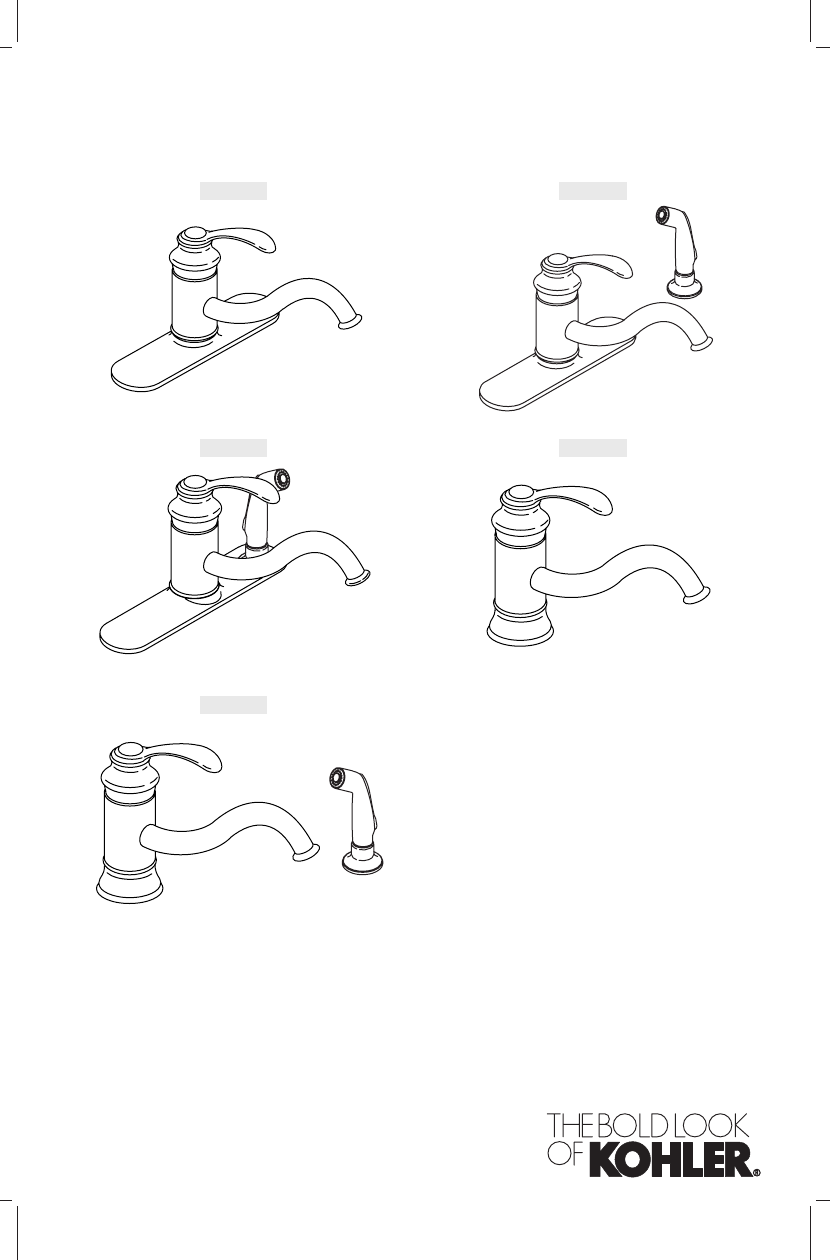
Installation GuideKitchen Sink FaucetsM product numbers are for Mexico (i.e. K-12345M)Los números de productos seguidos deM corresponden a México (Ej.
2. Installer le vaporisateurVaporisateur séparéAppliquer du mastic de plombier ou autre produit d’étanchéitéau dessous du porte-vaporisateur selon les
3. Installer l’alimentationREMARQUE : Installer l’évier à cet instant, s’il ne l’est pas déjà.S’assurer de suivre les instructions emballées avec l’év
5. Réglage optionnel de température limiteREMARQUE : Avant d’ajuster la température d’eau, s’assurer que lapoignée soit tournée complètement vers la g
Réglage optionnel de température limite (cont.)Retirer le chapeau, la poignée, la vis, et le bouchon.Kohler Co. Français-7 1004617-2-E
Guía de instalaciónGriferías de fregadero de cocinaHerramientas y materialesGracias por elegir los productos de KohlerApreciamos su elección por la ca
Antes de comenzar (cont.)La empresa Kohler se reserva el derecho de modificar el diseñode la grifería sin previo aviso, tal como se especifica en la lis
1. Instalación de la griferíaPara instalaciones de fregadero de tres orificios:Coloque la placa inferior debajo del chapetón grande.Para todas las inst
2. Instalación del rociadorRociador separadoAplique una tira de masilla de plomería u otro sellador en laparte inferior del soporte del rociador según
3. Instale los suministrosNOTA: Si el fregadero no está instalado, instálelo en este momento.Asegúrese de seguir todas las instrucciones incluidas con
5. Ajustes de la temperatura del aguaNOTA: Antes de ajustar la temperatura del agua, asegúrese de habergirado la manija completamente a la izquierda.
Tools and MaterialsThank You For Choosing Kohler CompanyWe appreciate your commitment to Kohler quality. Please take a fewminutes to review this manua
Ajustes de la temperatura del agua (cont.)Reinstale el bonete, la manija, el tornillo y el tapón.1004617-2-E Español-7 Kohler Co.
1004617-2-E
1004617-2-E
1004617-2-E
USA: 1-800-4-KOHLERCanada: 1-800-964-5590México: 001-877-680-1310kohler.com©2005 Kohler Co.1004617-2-E
1. Faucet InstallationFor three-hole sink installations:Place the undercover on the bottom of the large escutcheon.For all installations:Secure the ap
2. Handspray InstallationSeparate HandsprayApply a bead of plumbers putty or other sealant to the undersideof the spray holder according to the manufa
3. Supply InstallationNOTE: If the sink is not installed, install it at this time. Be sure tofollow all instructions packed with the sink.Connect the
5. Optional Temperature Limiting AdjustmentNOTE: Before making any adjustments, ensure that the handle isturned all the way to the left to the maximum
Guide d’installationRobinets d’évier de cuisineOutils et matérielsMerci d’avoir choisi la compagnie KohlerNous apprécions votre engagement envers la q
Avant de commencer (cont.)Kohler Co. se réserve le droit d’apporter toutes modifications audesign des robinets et ceci sans préavis, comme spécifié dans
1. Installation du robinetPour des installations d’évier à trois orifices:Placer la sous-plaque à la base de l’applique large.Pour toutes les installat
Related products and manuals for Sanitary ware Kohler K-12172-PB


 (24 pages)
 (20 pages)
© 2020, manymanuals.com. All rights reserved. | 1.553 s |
 Manymanuals.com
 Manymanuals.de
 Manymanuals.fr
 Manymanuals.it
 Manymanuals.pl
 Manymanuals.cz
 Manymanuals.es
 Manymanuals-pt.com
Comments to this Manuals