Kohler K-5702-GW-0 Installation Guide Page 3
- Page / 56
- Table of contents
- TROUBLESHOOTING
- BOOKMARKS
- Installation and Care Guide 1
- Installation Instructions 2
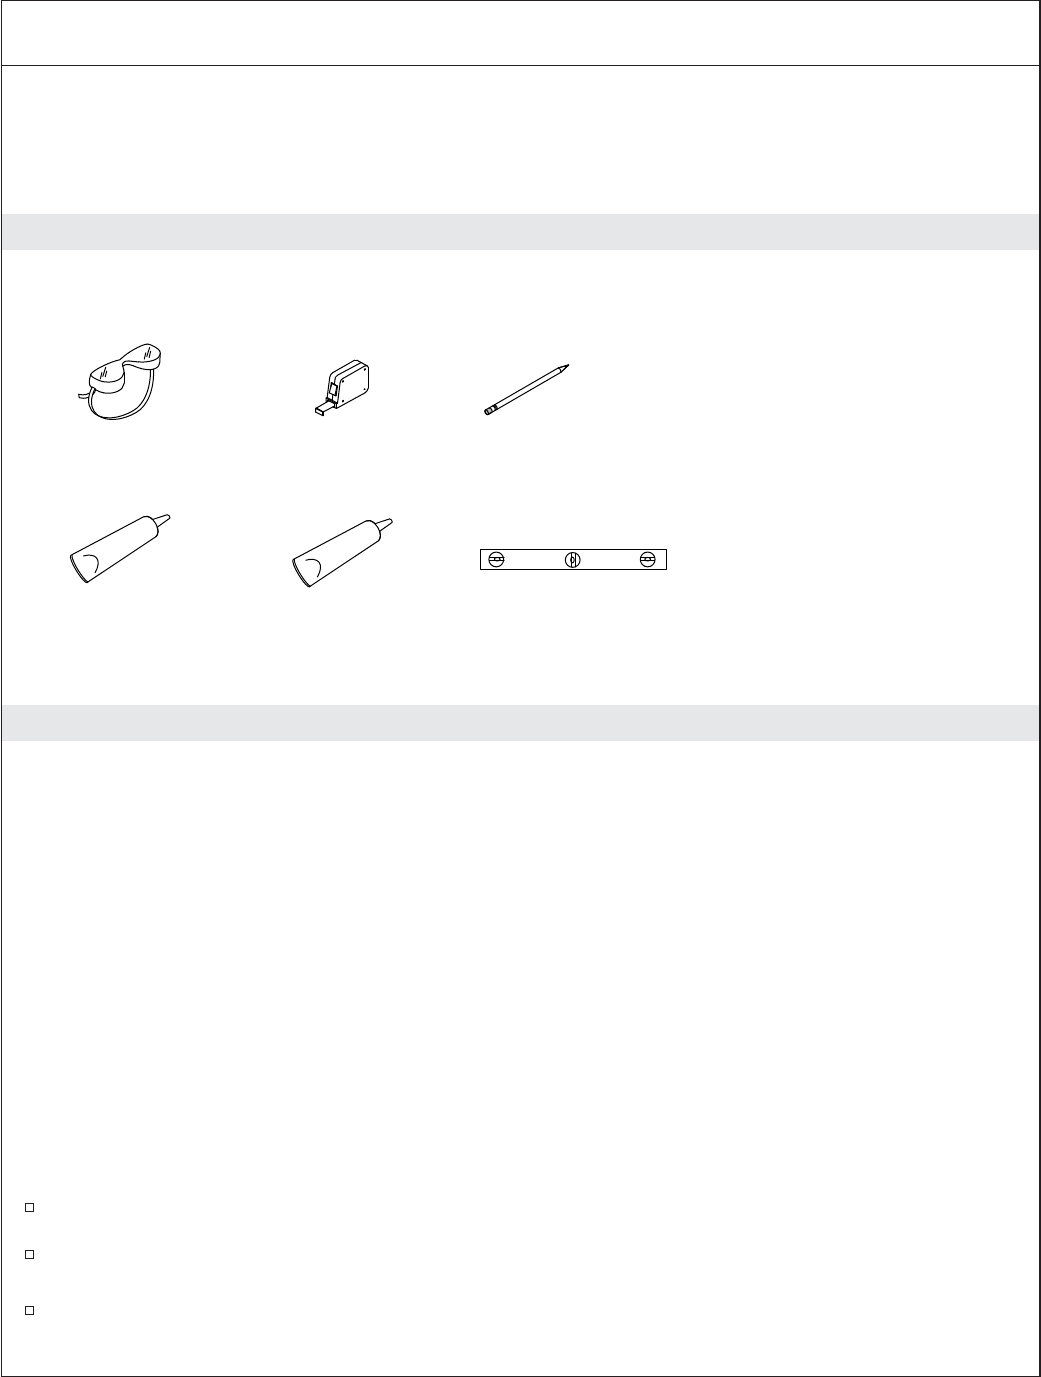
- Tools and Materials 3
- Before You Begin 3
- Recommended Faucet Area 5
- (See Specification Sheet 5
- 2. Prepare the Site 6
- 3. Prepare the Bath 7
- Install a GFCI-protected 8
- 120 V, 15 A grounded outlet 8
- Bond in accordance 8
- Provide suitable 9
- 6. Install the Bath 10
- Important Safety Instructions 11
- Operating the Air System 12
- Operating the Heated Surface 13
- Care and Cleaning 14
- Warranty 14
- Troubleshooting 16
- Instructions d’installation 18
- Outils et matériaux 19
- Avant de commencer 19
- 2. Préparer le site 22
- 3. Préparer la baignoire 23
- Sceller en fonction des 24
- Fournir un réducteur 25
- 6. Installer la baignoire 26
- CONSERVER CES INSTRUCTIONS 27
- Utilisation du système d’air 29
- Fonctionnement du clavier 30
- Entretien et nettoyage 31
- Garantie 31
- Dépannage 33
- Guía de instalación y cuidado 36
- Herramientas y materiales 37
- Antes de comenzar 37
- 2. Prepare el sitio 40
- 3. Prepare la bañera 41
- Provea un mecanismo 43
- 6. Instale la bañera 44
- GUARDE ESTAS INSTRUCCIONES 45
- Modo de purga 47
- Encendido/Apagado 47
- Aumenta el flujo 47
- Disminuye el flujo 47
- Funcionamiento del teclado 48
- Cuidado y limpieza 49
- Garantía 49
- Resolución de problemas 51
- 1237792-2-E 54
Related products and manuals for Space heaters Kohler K-5702-GW-0


 (52 pages)
© 2020, manymanuals.com. All rights reserved. | 1.047 s |
 Manymanuals.com
 Manymanuals.de
 Manymanuals.fr
 Manymanuals.it
 Manymanuals.pl
 Manymanuals.cz
 Manymanuals.es
 Manymanuals-pt.com
Comments to this Manuals