Kohler Closing Overow Cable Bath Drain K-7116 User Manual
Browse online or download User Manual for Tools Kohler Closing Overow Cable Bath Drain K-7116. Kohler Closing Overow Cable Bath Drain K-7116 User Manual
- Page / 16
- Table of contents
- BOOKMARKS
- 1113750-2-C 1
- Before You Begin 2
- Avant de commencer 2
- Antes de comenzar 2
- Antes de comenzar (cont.) 3
- 1113750-2-C 4 Kohler Co 4
- Kohler Co. 5 1113750-2-C 5
- 1113750-2-C 6 Kohler Co 6
- Kohler Co. 7 1113750-2-C 7
- 1113750-2-C 8 Kohler Co 8
- Kohler Co. 9 1113750-2-C 9
- 1113750-2-C 10 Kohler Co 10
- Care and Cleaning 11
- Entretien et nettoyage 11
- Cuidado y limpieza 11
- Warranty 12
- Garantie 12
- Garantía 13
- 1113750-2-C 14 Kohler Co 14
- Kohler Co. 1113750-2-C 15
Summary of Contents
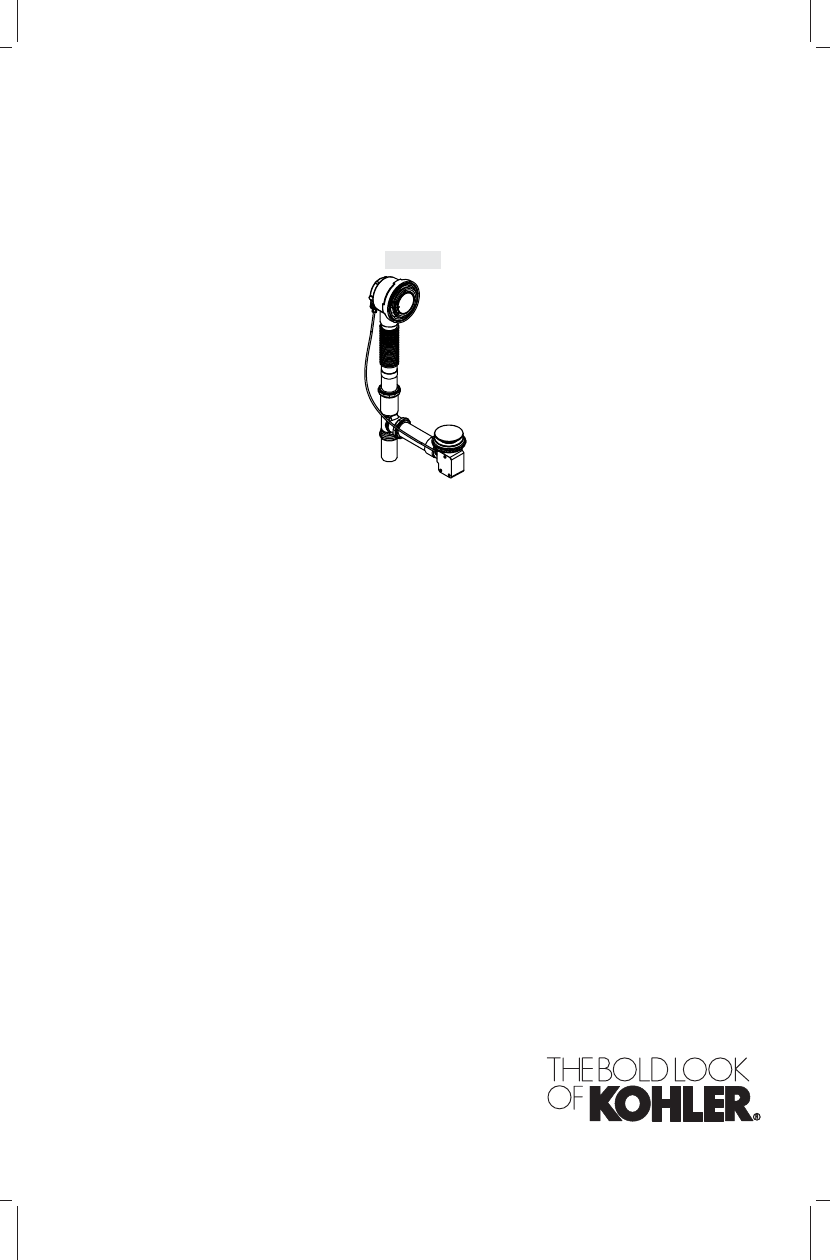
Installation and Care GuideGuide d’installation et d’entretienGuía de instalación y cuidadoClosing Overflow Cable Bath DrainFermeture du drain de baign
Installation/Installation/Instalación28Screws/Vis/TornillosFlange/Bride/RebordeSetscrewVis de retenueTornillo de fijaciónHandlePoignéeManijaWrench/Clé
Care and CleaningFor best results, keep the following in mind when caring for your KOHLER product:•Use a mild detergent such as liquid dishwashing soa
Cuidado y limpieza (cont.)Para obtener información detallada de limpieza y los limpiadores a considerar, visitewww.kohler.com/clean. Para solicitar in
Garantie (cont.)DOMMAGES PARTICULIERS, IMPRÉVUS OU DE CIRCONSTANCE. Certainsétats/provinces ne permettent pas la limitation sur la durée de la garanti
Service Parts/Pièces de rechange/Piezas de repuesto[9/16" (1.4 cm)]1070940Wrench/Clé/Llave1044616Retainer/Rétention/Retén1044615**Flange/Bride/Br
Kohler Co. 1113750-2-C
1113750-2-C
Before You BeginCAUTION: Risk of property damage. To prevent water leaks, ensure a watertightseal on all bath drain connections.NOTE: Use caution when
Antes de comenzar (cont.)Kohler Co. se reserva el derecho de modificar el diseño de los desagües sin previoaviso, tal como se especifica en la lista de
Installation/Installation/InstalaciónMeasure the thickness of the bath.Mesurer l'épaisseur de la baignoire.Mida el grosor de la bañera.Slide the
Installation/Installation/InstalaciónSlide the overflow ell over alignment tool.Faire glisser le coude de trop-pleinpar-dessus l'outil d'ali
Installation/Installation/InstalaciónCut the pipe with a tubing cutteror hacksaw.Couper le tuyau avec uncoupe-tuyau ou une scieà métaux. Corte el tubo
Installation/Installation/InstalaciónRemove the alignment tool,and both ells.Retirer l'outild'alignement ainsi que les deux coudes.Retire la
Installation/Installation/InstalaciónInstall the alignment tool.Installer l'outil d'alignement.Instale la herramienta de alineación.Tighten
Installation/Installation/Instalación2526Make sure the handle functions correctly. Check for leaks.S'assurer que la poignée fonctionne correcteme
Related products and manuals for Tools Kohler Closing Overow Cable Bath Drain K-7116
 (6 pages)

 (0 pages)
© 2020, manymanuals.com. All rights reserved. | 0.333 s |
 Manymanuals.com
 Manymanuals.de
 Manymanuals.fr
 Manymanuals.it
 Manymanuals.pl
 Manymanuals.cz
 Manymanuals.es
 Manymanuals-pt.com
Comments to this Manuals