Kohler K-10825-4-2BZ Installation Guide
Browse online or download Installation Guide for Unknown Kohler K-10825-4-2BZ. KOHLER K-10825-4-2BZ Installation Guide User Manual
- Page / 20
- Table of contents
- BOOKMARKS
- 1087994-2-C 1
- Tools/Outils/Herramientas 2
- Antes de comenzar 3
- 1087994-2-C 4 Kohler Co 4
- Threaded Spout Installation 5
- Installation de bec fileté 5
- All Installations 6
- Toutes les installations 6
- Todas las instalaciones 6
- Kohler Co. 7 1087994-2-C 7
- 1087994-2-C 8 Kohler Co 8
- Kohler Co. 9 1087994-2-C 9
- 1087994-2-C 10 Kohler Co 10
- Kohler Co. 11 1087994-2-C 11
- Care and Cleaning 12
- Entretien et nettoyage 12
- Cuidado y limpieza 12
- Cuidado y limpieza (cont.) 13
- Service the Screen Washer 14
- Dépanner la rondelle à grille 14
- Warranty 15
- Garantie 16
- Garantía 17
- Garantía (cont.) 18
- Kohler Co. 19 1087994-2-C 19
Summary of Contents
Installation and Care GuideGuide d’installation et d’entretienGuía de instalación y cuidadoSingle-Control Bath and Shower TrimBaignoire mono-contrôle
Installation/Installation/InstalaciónProperly align the handle and press onto the valve stem. Secure the handle in place with the washer and screw. Pr
Installation/Installation/Instalación2526 27Flush dirt and debris.Purger la saleté et les débris.Deje correr agua para limpiar la suciedad y las partí
Care and CleaningFor best results, keep the following in mind when caring for your KOHLER product:•Use a mild detergent such as liquid dishwashing soa
Cuidado y limpieza (cont.)Para obtener información detallada de limpieza y los limpiadores a considerar, visitewww.kohler.com/clean. Para solicitar in
12 345Service the Screen WasherDépanner la rondelle à grilleDé servicio a la arandela de rejillaRemove the showerhead.Retirer la pomme de douche.Retir
WarrantyKOHLER®Faucet Lifetime Limited WarrantyKohler Co. warrants its Faucets* manufactured after January 1, 1997, to be leak and dripfree during nor
GarantieGarantie limitée à vie du robinet KOHLER®Kohler Co. garantit que les robinets* fabriqués après le 1er janvier 1997 ne fuient pas etne gouttent
Garantie (cont.)les crépines d’évier Duostrainer®, les distributeurs de savon/lotion; et les robinetsutilisés dans des milieux commerciaux et en dehor
Garantía (cont.)consumidor ciertos derechos legales específicos. Además, usted puede tener otrosderechos que varían de estado a estado y provincia a pr
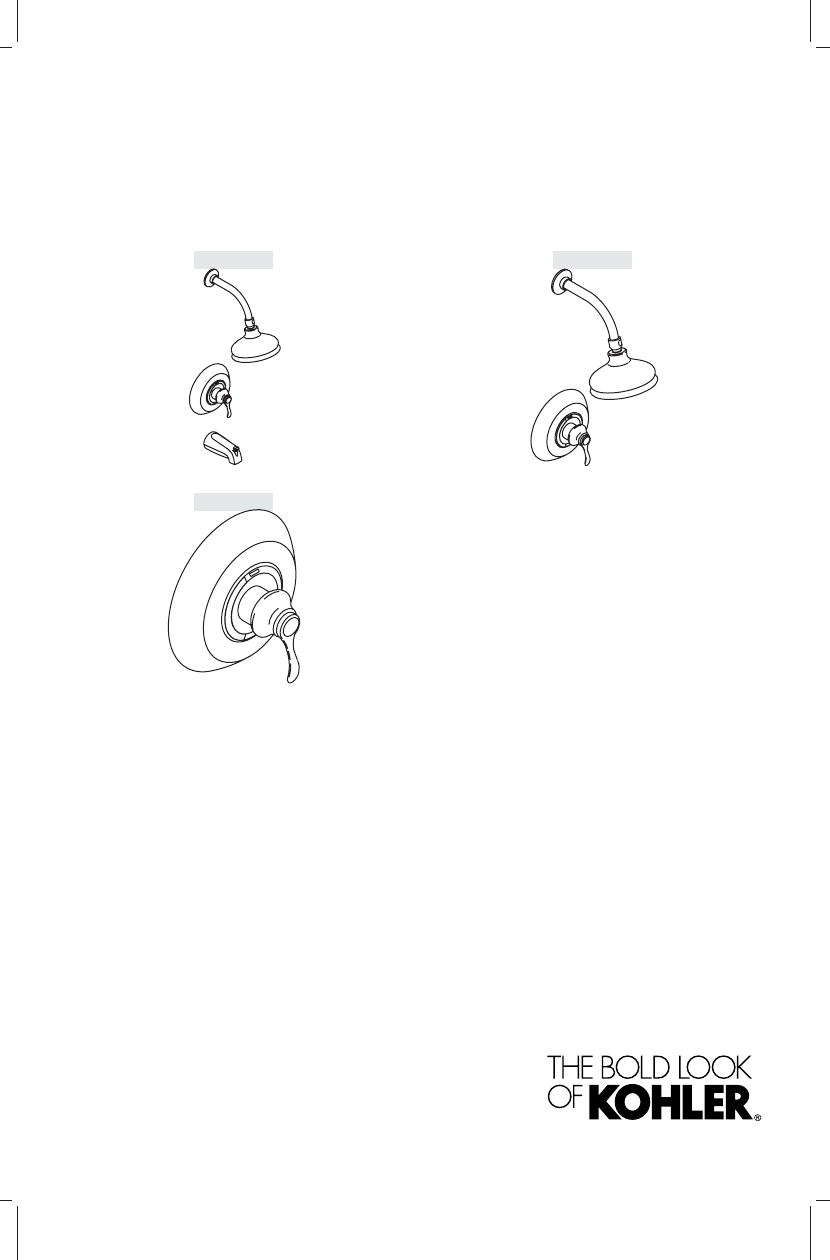
Service Parts/Pièces de rechange/Piezas de repuestoShower ArmBras de la doucheBrazo de duchaShowerheadPomme de doucheCabeza de duchaEscutcheonApplique
Tools/Outils/HerramientasBefore You BeginWARNING: Risk of personal injury. If the water temperature is set too high,scalding will occur. The water tem
Service Parts/Pièces de rechange/Piezas de repuesto (cont.)Screw/Vis/TornilloWasher/Rondelle/ArandelaPlug ButtonBouchonTapn botónHandlePoigneManijaSle
Antes de comenzarADVERTENCIA: Riesgo de lesiones personales. Si la temperatura del agua seajusta muy alta, se producirán quemaduras. La temperatura de
Installation/Installation/InstalaciónThe tube should extend 1-1/2"(38 mm) - 2-7/8" (73 mm) pastthe finished wall.Le tube devrait s'éten
Installation/Installation/InstalaciónApply sealant tape tothe 1/2" nipple.Appliquer de l'étanchéité aumamelon de 1/2".Aplique cinta sel
Installation/Installation/InstalaciónAll InstallationsToutes les installationsTodas las instalaciones9811107Apply plumbers putty or sealant to the sho
Installation/Installation/Instalación13 1416ThermometerThermomètreTermómetroCollar/Collier/CollarínFor minor temperature changes, adjust the setscrew
Installation/Installation/Instalación1719Slowly turn the valve stem to adjust the maximum water temperature.Tourner lentement la tige de valve pour aj
Installation/Installation/Instalación202122Valve StemTige de valveEspiga de la válvulaPlace the faceplate onto the valve and secure with the two screw
Related products and manuals for Unknown Kohler K-10825-4-2BZ


 (28 pages)
(12 pages)
(20 pages)
(28 pages)
(12 pages)
(20 pages)
 (12 pages)
(20 pages)
(12 pages)
(20 pages)
© 2020, manymanuals.com. All rights reserved. | 1.074 s |
 Manymanuals.com
 Manymanuals.de
 Manymanuals.fr
 Manymanuals.it
 Manymanuals.pl
 Manymanuals.cz
 Manymanuals.es
 Manymanuals-pt.com
Comments to this Manuals