Kohler K-5149-8-47 Installation Guide
Browse online or download Installation Guide for Unknown Kohler K-5149-8-47. KOHLER K-5149-8-47 Installation Guide User Manual
- Page / 20
- Table of contents
- BOOKMARKS
- 1114336-2-B 1
- Tools/Outils/Herramientas 2
- Información importante 3
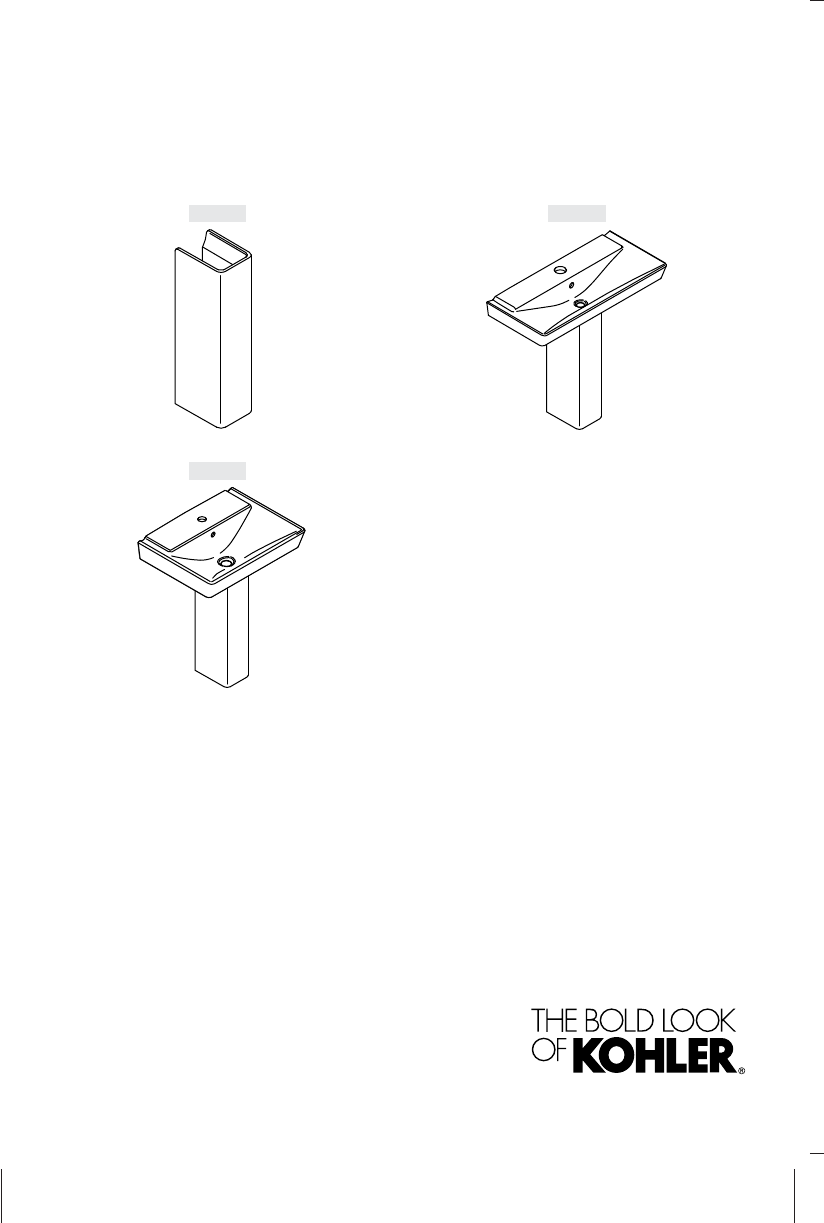
- K-5026, K-5032, K-5149 4
- K-5027, K-5032, K-5150 5
- 1. Brace the Wall 6
- 2. Mark the Mounting Holes 7
- 3. Verify Marked Locations 8
- Verifique los lugares marcados 9
- Install the Mounting Hardware 10
- 5. Install the Sink 11
- Installer le lavabo 12
- Instale el lavabo 12
- 6. Secure the Bathroom Sink 13
- 7. Complete the Installation 14
- Entretien et nettoyage 15
- Termine la instalación 15
- Care and Cleaning 15
- Cuidado y limpieza 16
- Warranty 16
- Garantie 16
- Garantía 17
- 1114336-2-B Kohler Co 18
- Kohler Co. 1114336-2-B 19
Summary of Contents
Installation and Care GuideGuide d’installation et d’entretienGuía de instalación y cuidadoPedestal Bathroom SinksLavabos à colonneLavabos de baño de
4. Install the Mounting HardwareFor K-5026 / K-5149 Only:Using the appropriate sized drill bit for your lag bolts, drill pilot holes at the twoouter m
Installer la boulonnerie de fixation (cont.)Installer les dispositifs d’ancrage et les vis-boulons à tables dans les deux trous àl’intérieur.Pour toute
Install the Sink (cont.)CAUTION: Risk of personal injury. Get help lifting and installing the bathroomsink.Move the pedestal to the installation locat
6. Secure the Bathroom SinkVerify that the bathroom sink is level. Make any adjustments as needed.For K-5026/K-5149 Only: Secure the sink with the was
7. Complete the InstallationApply a thin bead of silicone sealant along the edge of the bathroom sink where itmeets the wall and where the pedestal me
Termine la instalaciónAplique una tira delgada de sellador de silicona a lo largo del filo del lavabodonde hace contacto con la pared y donde el pedest
Cuidado y limpiezaPara obtener los mejores resultados, tenga presente lo siguiente al limpiar su productoKOHLER:•Siempre pruebe la solución de limpiez
Garantie (cont.)discrétion, la réparation, le remplacement ou la rectification appropriée après inspectiondesdits vices par Kohler Co. pendant un (1) a
1114336-2-B Kohler Co.
Kohler Co. 1114336-2-B
Tools/Outils/HerramientasImportant InformationCAUTION: Risk of personal injury. Product can break, chip, or cause injury ifhandled carelessly. Get hel
1114336-2-B
Información importantePRECAUCIÓN: Riesgo de lesiones personales. El producto puede romperse,despostillarse o causar lesiones si no se maneja con cuida
Roughing-In/Plan de raccordement/Diagrama de instalación3/8"ColdFroidFría3/8"HotChaudCaliente1-1/4" OutletSortie 1-1/4"Salida de 1
Roughing-In/Plan de raccordement/Diagrama de instalación10-1/8"(257 mm)18-5/16"(465 mm)4"(102 mm)14"(356 mm)12-7/8"(327 mm)7-
1. Brace the WallInstall the water supplies and drain piping according to the roughing-ininformation.Refer to the illustration for length and mounting
2. Mark the Mounting HolesNOTE: K-5026/K-5149 will require four mounting hole locations whileK-5027/K-5152 will only require two. Refer to the illustr
3. Verify Marked LocationsCAUTION: Risk of personal injury. Get help lifting and installing the bathroomsink.Move the pedestal to the installation loc
Vérifier les emplacements marqués (cont.)Retirer le lavabo de la colonne.Retirer le lavabo et la colonne de l’emplacement d’installation jusqu’au momen
Related products and manuals for Unknown Kohler K-5149-8-47


 (24 pages)
 (16 pages)
(12 pages)
(12 pages)
(24 pages)
(60 pages)
(64 pages)
(28 pages)
(44 pages)
(16 pages)
(12 pages)
(12 pages)
(24 pages)
(60 pages)
(64 pages)
(28 pages)
(44 pages)
© 2020, manymanuals.com. All rights reserved. | 0.798 s |
 Manymanuals.com
 Manymanuals.de
 Manymanuals.fr
 Manymanuals.it
 Manymanuals.pl
 Manymanuals.cz
 Manymanuals.es
 Manymanuals-pt.com
Comments to this Manuals