Kohler Courage XTR-6 User Manual Page 12
- Page / 19
- Table of contents
- TROUBLESHOOTING
- BOOKMARKS
- COURAGE XT-6, XT-7, XTR-7 1
- Safety Precautions 2
- Table of Contents 2
- CAUTION WARNING 3
- Oil Recommendations 5
- Fuel Recommendations 5
- (QJLQH,GHQWL¿FDWLRQ1XPEHUV 6
- Operating Instructions 7
- Emission Compliance 7
- Carburetor 9
- Maintenance 9
- Angle of Operation 9
- Oil Level Check 10
- Oil Change 11
- Air Cleaner System 11
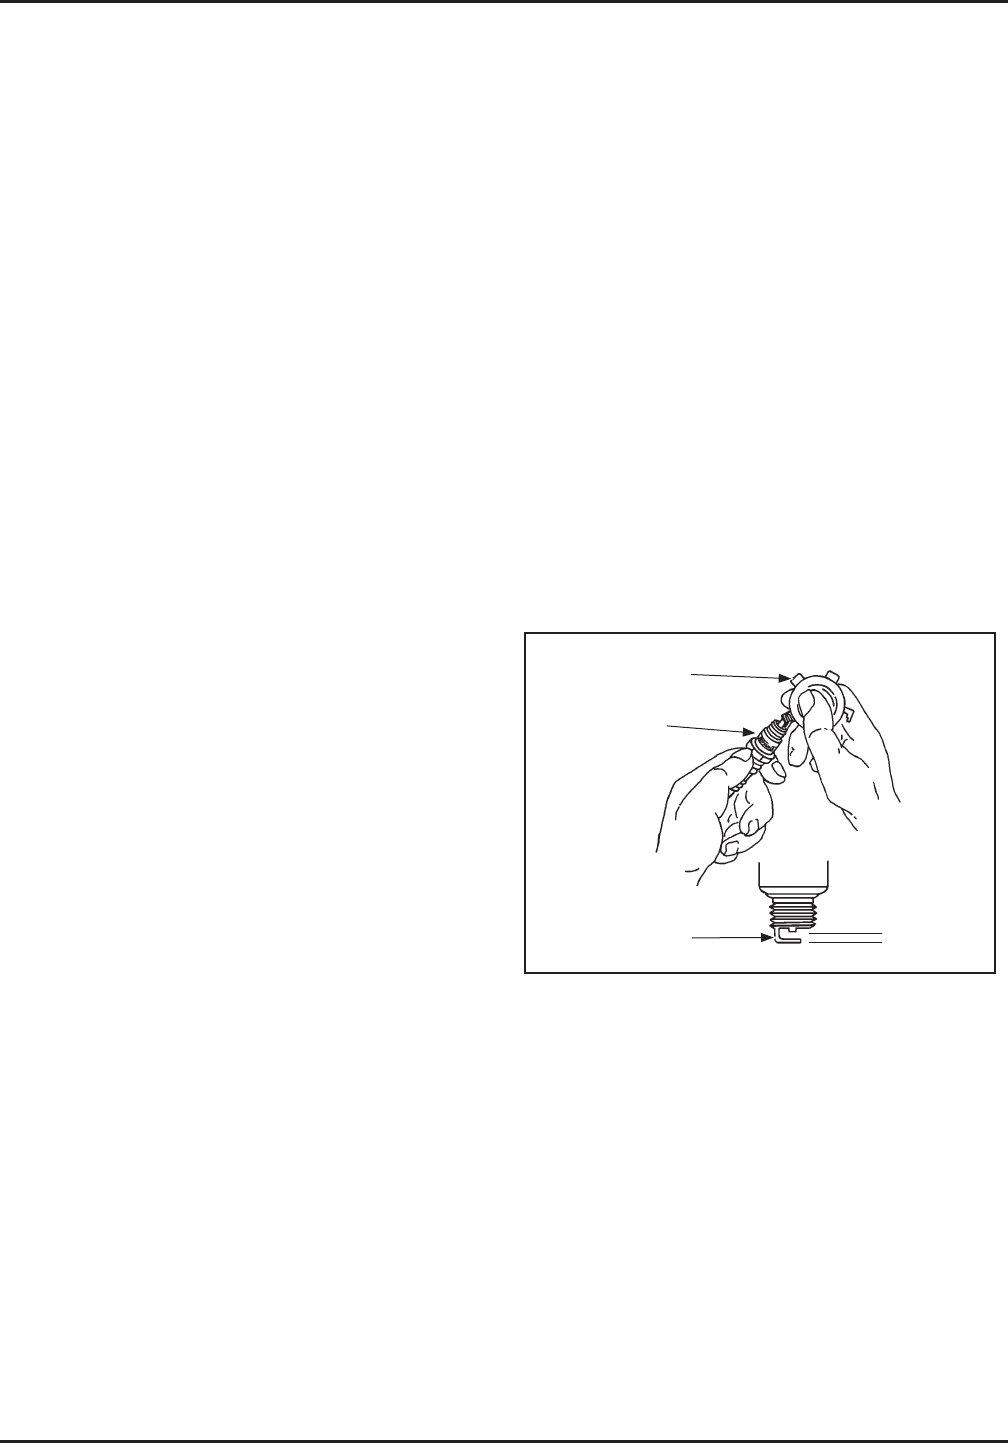
- Spark Plug 12
- (QJLQH6SHFL¿FDWLRQVï 13
- Troubleshooting 14
- ENGINE LIMITED WARRANTY 15
- KOHLER CO 16
- KohlerEngines.com 19
Related products and manuals for For the car Kohler Courage XTR-6


 (136 pages)
(218 pages)
(138 pages)
(20 pages)
(20 pages)
(120 pages)
(19 pages)
(20 pages)
(152 pages)
(16 pages)
(17 pages)
(20 pages)
(217 pages)
(24 pages)
(136 pages)
(218 pages)
(138 pages)
(20 pages)
(20 pages)
(120 pages)
(19 pages)
(20 pages)
(152 pages)
(16 pages)
(17 pages)
(20 pages)
(217 pages)
(24 pages)
© 2020, manymanuals.com. All rights reserved. | 1.038 s |
 Manymanuals.com
 Manymanuals.de
 Manymanuals.fr
 Manymanuals.it
 Manymanuals.pl
 Manymanuals.cz
 Manymanuals.es
 Manymanuals-pt.com
Comments to this Manuals