Kohler K-1913-LW-47 Installation Guide Page 26
- Page / 156
- Table of contents
- TROUBLESHOOTING
- BOOKMARKS
- Installation Guide 1
- Important Information 2
- Table of Contents 3
- Tools and Materials 3
- Before You Begin 4
- Parts Identification 5
- 1. Construct the Framing 6
- 2. Confirm the Correct Cutout 8
- All Installations 11
- 5. Remove the Door 12
- Kohler Co. 15 1128532-2-G 15
- 7. Remove the Receptor Tray 16
- 8. Disconnect the Components 17
- 9. Position the Bath 18
- 10. Level and Secure the Bath 20
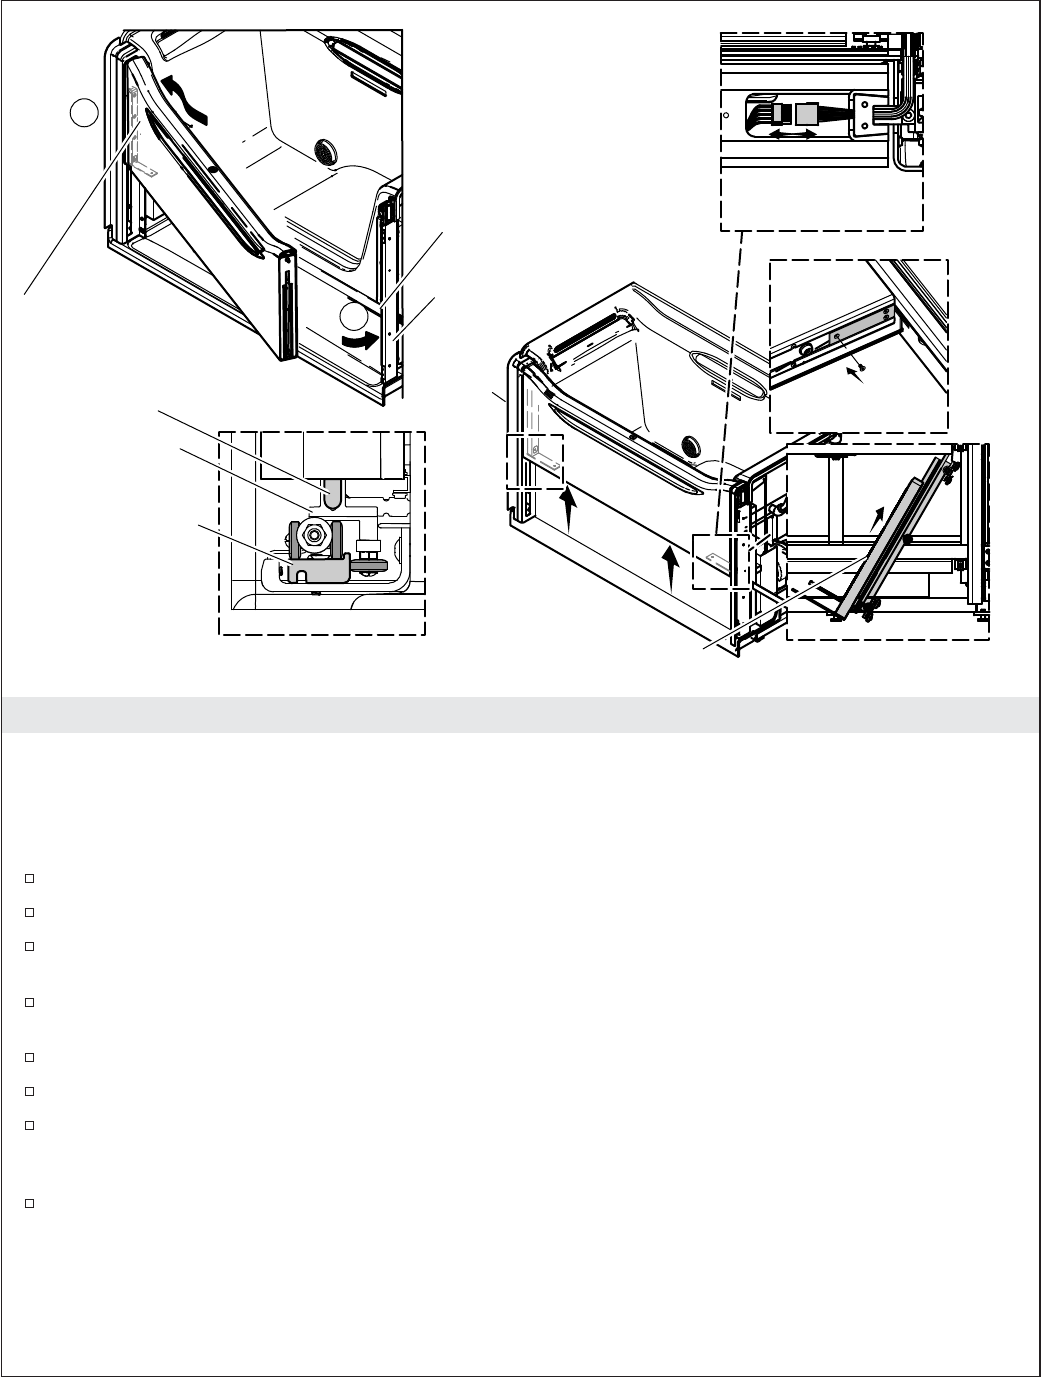
- 14. Install the Door 26
- 15. Attach the Counterweights 27
- 16. Connect the Components 29
- 17. Adjust the Bath Door 30
- GFCI-Protected Receptacle 34
- Power Supply 34
- Heating Surface 34
- Keypad Operation 35
- 21. Install the Finished Wall 38
- Troubleshooting 38
- Guide d’installation 50
- Sommaire 51
- Outils et matériaux 51
- Avant de commencer 52
- Identification des pièces 53
- 1. Construire la charpente 54
- Toutes les installations 56
- 5. Retirer la porte 60
- 7. Retirer le bac collecteur 64
- 8. Déconnecter les composants 65
- 9. Positionner la baignoire 67
- 14. Installer la porte 75
- 15. Attacher les contrepoids 76
- 16. Connecter les composants 78
- Alimentation électrique 83
- Surface de chauffage 83
- Fonctionnement du clavier 84
- 21. Installer le mur fini 88
- Dépannage 88
- Guía de instalación 102
- Contenido 103
- Herramientas y materiales 103
- Antes de comenzar 104
- Identificación de las piezas 105
- Todas las instalaciones 106
- 5. Retire la puerta 112
- 8. Desconecte los componentes 117
- 9. Coloque la bañera 119
- 10. Nivele y fije la bañera 121
- 14. Instale la puerta 127
- 15. Fije los contrapesos 128
- 16. Conecte los componentes 130
- Tomacorriente protegido 135
- Superficie de calefacción 135
- Funcionamiento del teclado 136
- 21. Instale la pared acabada 140
- Guía para resolver problemas 140
- 1128532-2-G 154
© 2020, manymanuals.com. All rights reserved. | 1.323 s |
 Manymanuals.com
 Manymanuals.de
 Manymanuals.fr
 Manymanuals.it
 Manymanuals.pl
 Manymanuals.cz
 Manymanuals.es
 Manymanuals-pt.com
Comments to this Manuals