Kohler K-5026-1-0 Installation Guide
Browse online or download Installation Guide for Unknown Kohler K-5026-1-0. KOHLER K-5026-1-0 Installation Guide User Manual
- Page / 16
- Table of contents
- BOOKMARKS
- 1114334-2-A 1
- 1114334-2-A 2 Kohler Co 2
- Tools/Outils/Herramientas 3
- Información importante 4
- Kohler Co. 5 1114334-2-A 5
- 1. Brace the Wall 6
- 2. Mark the Mounting Holes 7
- Install the Mounting Hardware 8
- Kohler Co. 9 1114334-2-A 9
- 4. Install the Lavatory 10
- 5. Complete the Installation 11
- Termine la instalación 12
- Care and Cleaning 12
- Entretien et nettoyage 12
- Cuidado y limpieza 13
- Warranty 13
- Garantie 13
- Garantía 14
- Kohler Co. 15 1114334-2-A 15
Summary of Contents
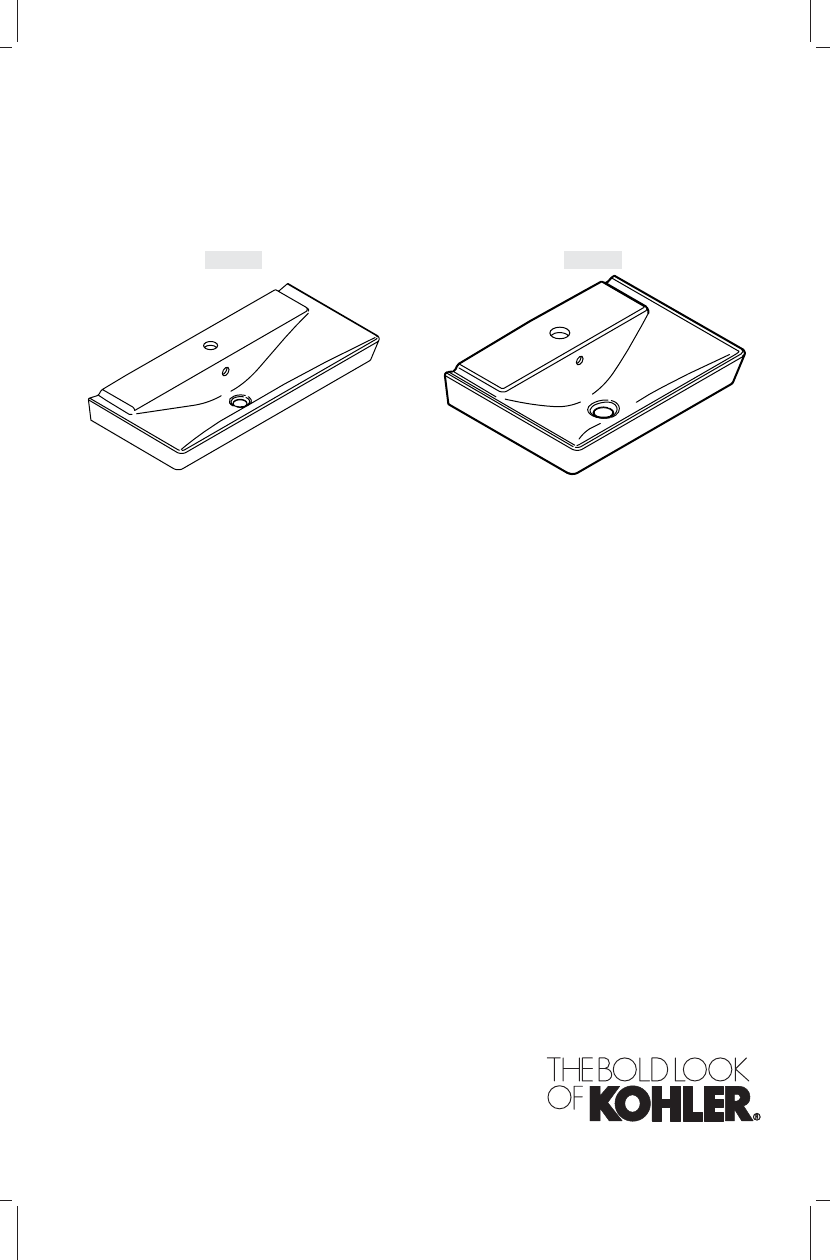
Installation and Care GuideGuide d’installation et d’entretienGuía de instalación y cuidadoWall-Mount LavatoriesLavabos à montage muralLavabos de mont
4. Install the LavatoryCAUTION: Risk of personal injury or product damage. Get help lifting andinstalling the lavatory.Lift the lavatory into position
5. Complete the InstallationVerify the lavatory is level. Make any adjustments as needed.For K-5026 Only: Secure the lavatory with the washers and lag
Termine la instalaciónVerifique que el lavabo esté a nivel. Haga los ajustes necesarios.Sólo para K-5026: Fije el lavabo con las arandelas y pernos de
Cuidado y limpiezaPara obtener los mejores resultados, tenga presente lo siguiente al limpiar su productoKOHLER:•Siempre pruebe la solución de limpiez
Garantie (cont.)utilisation normale et ceci pendant un (1) an à partir de la date d’installation. Kohler Co.n’est pas responsable des coûts de démonta
Service Parts/Pièces de rechange/Piezas de repuesto5527**Hardware BagPaquet de boulonnerieBolsa de herrajes4061**Overflow CapCapuchon de trop-pleinTap
1114334-2-A
Thank You For Choosing Kohler CompanyThank you for choosing Kohler Company. Your Kohler Company product reflects thetrue passion for design, craftsmans
Tools/Outils/HerramientasImportant InformationCAUTION: Risk of personal injury or product damage. Handle with care.Product can break, chip or cause in
Informations importantes (cont.)Si possible, assembler le drain et le robinet au lavabo avant d’installer ce dernier.Respecter tous les codes de plomb
Roughing-In/Plan de raccordement/Diagrama de instalación10-1/8"(25.7 cm)23-5/8" (60 cm)18-5/16"(46.5 cm)6-5/16"(16 cm)3/8"Col
1. Brace the WallInstall the water supplies and drain piping according to the roughing-ininformation.Refer to the illustration for length and mounting
2. Mark the Mounting HolesNOTE: K-5026 will require four mounting hole locations while K-5027 will onlyrequire two. Refer to the illustration for dime
3. Install the Mounting HardwareFor K-5026 Only:Using the appropriate sized drill bit for your lag bolts, drill pilot holes at the twooutermost marked
Installer la boulonnerie de fixation (cont.)Installer les ancrages et les boulons d’ancrage dans les deux trous les plus àl’intérieur.Pour toutes les i
Related products and manuals for Unknown Kohler K-5026-1-0


 (16 pages)
 (28 pages)
(52 pages)
(20 pages)
(48 pages)
(28 pages)
(52 pages)
(20 pages)
(48 pages)
 (12 pages)
(16 pages)
(20 pages)
(20 pages)
(12 pages)
(16 pages)
(20 pages)
(20 pages)
© 2020, manymanuals.com. All rights reserved. | 1.088 s |
 Manymanuals.com
 Manymanuals.de
 Manymanuals.fr
 Manymanuals.it
 Manymanuals.pl
 Manymanuals.cz
 Manymanuals.es
 Manymanuals-pt.com
Comments to this Manuals